Monday, April 7, 2014

What's for Dinner…. Chicken and Wild Rice Soup!

Yum one of my favorite soups! And its great to freeze.

Here is what you need

2- boxes wild rice
3 1/2 cups water
chicken
1/2 onion
3-4 carrots
3-4 celery
1/3 cup flour
6 bullion cubes
1 pt whip cream

Cook your chicken then dice, or shred how ever you would like it to be.
Add the rice and water to a pot (do not add the seasonings that are in the box) and bring to a boil. Then turn down the heat to medium. While this is being done dice carrots, celery and onions. Put them in a pan and saute them in butter.
 
chillin' in some butter
When this is all ready and soft and tender add 1/3 cup of flour and stir around for a minute and make your rue. 

here is where the flour is added


Now you add your 6 cups of water. You obviously can't add it all into this pan. So I do a little at a time. I add some stir it. Add a little more stir it. When it gets to be to much that I know I can't stir in the pan anymore I move it to the crock pot. And I add what I have left to the crock pot along with the bullion cubes and my chicken. This is when you can add the seasoning that was in the box of rice if you want to. I always add the packet of seasonings it just gives it a little more flavor… Now the last thing is to add your cream dump the whole thing in there and stir. Let it sit for a few hrs. The longer the better. You can make this all stove top and eat it in about 45 min as well. I just like to do it crock pot. 

Final product let it simmer a bit


we like to eat it with french bread yummy!


** Your chicken can be done as you wish. You can cook it and dice or shred. On a later post I have planned coming up I will show you how I do my chicken. And believe me you won't want to miss it. Its a life saver! 


Thursday, April 3, 2014

Summer planter

Is anyone else ready for summer? I would be happy today for just spring.  Well today I got a little spring/summer relief.  My local nursery helped us set up our own hanging baskets.  I love to get my hands dirty and full of flowers.  They had all the supplies ready for us.  This is something though that could easily be done at home.  

You want to start with a cool basket full of holes.


These are available at most nurseries.  Fill it up with dirt and soak it.  Now you want to fill each hole with different flowers.  This is where you can be creative or as safe as you want.  I really like to add a bunch of different flowers and cross my fingers it looks good.  Some of my friends went more into a pattern.  You can skip holes as well if you don't want it to be so full.  When you are done filling up all of the side holes you then work on the top.
  Some did trailing flowers while I did ones that stand up more.  Doing this myself I saved about $30 compared to just buying one already planted from a nursery. 
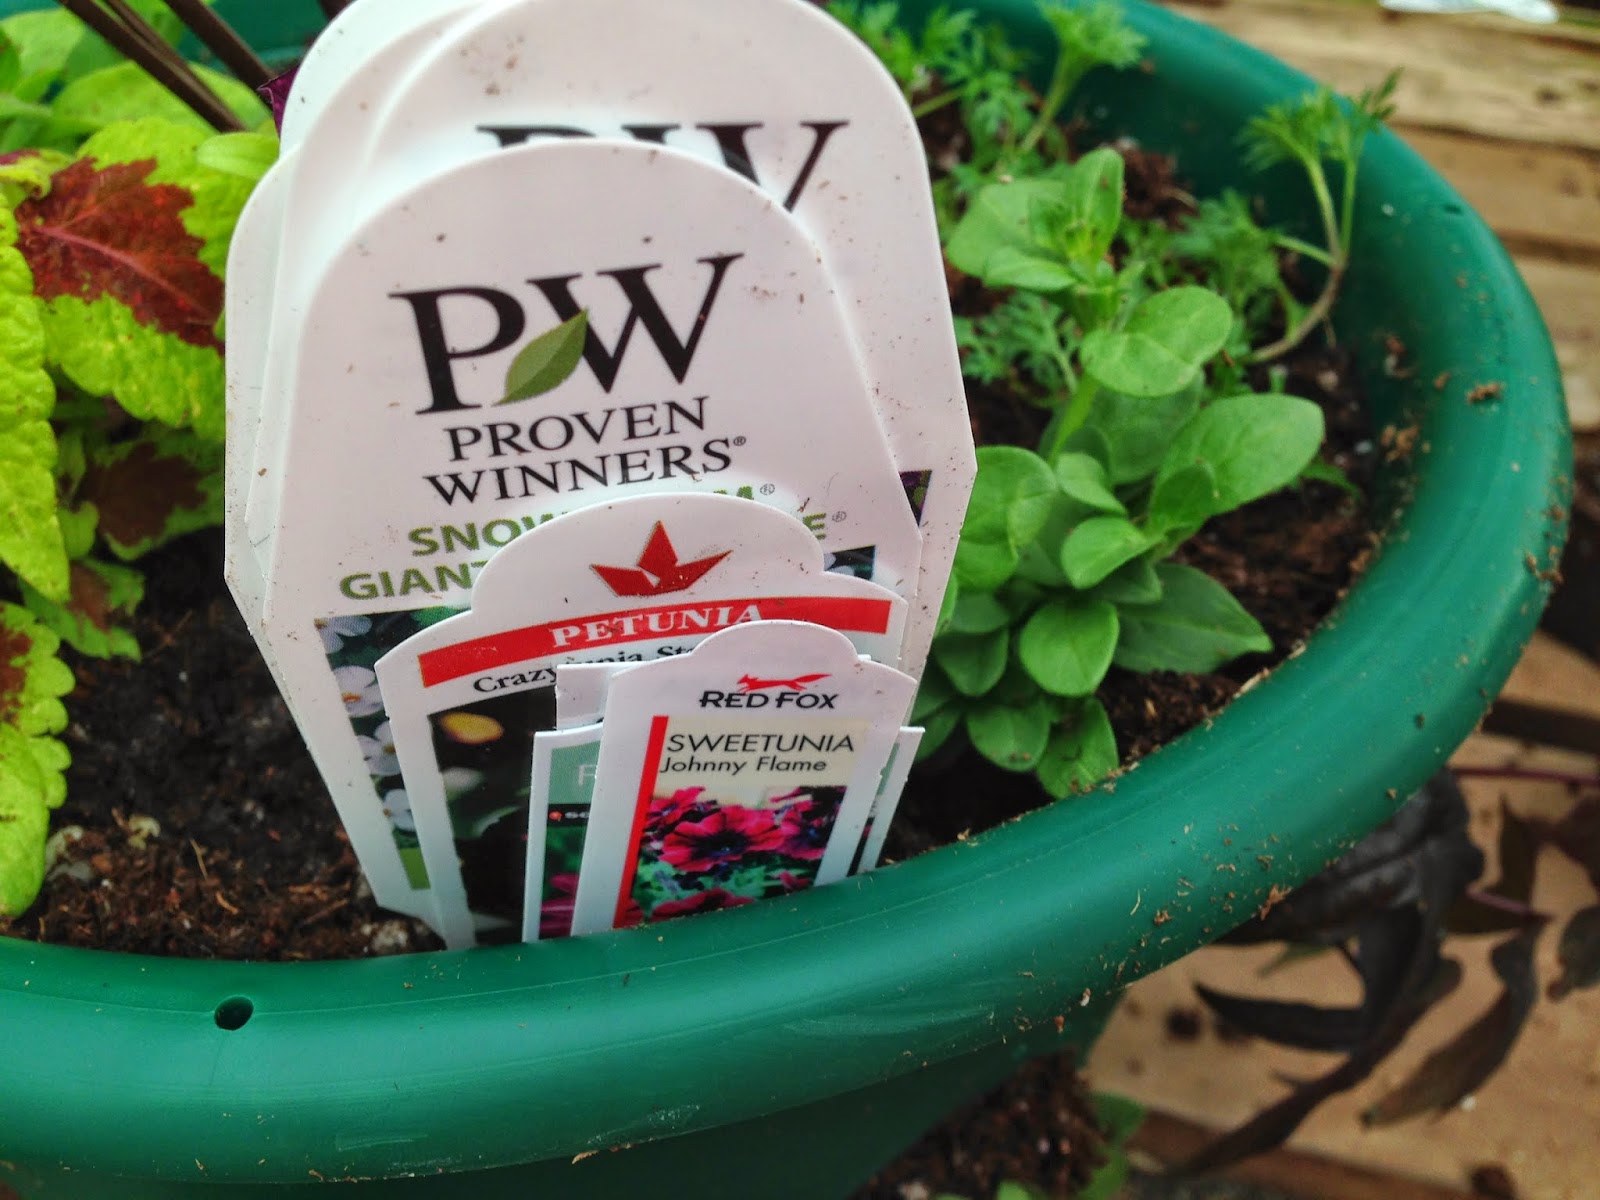
 Another tip: make sure you save your tags for what flowers you use.  That way if one dies you know what to replace it with.


Monday, March 31, 2014

A spring time nursery!

I am so in love with the fact that spring is here! I love spring time; it's not too hot and not too cold. One thing that I love is decorating my house. I actually feel like my whole house is in a sort of spring time color feel all year long. When I was trying to come up with how I wanted to paint my daughters nursery, I had so many ideas in my head. I wanted to do either crazy hot pink with zebra stripes or crazy colors that just screamed girl all the way. I then realized that at this stage in life, I would be the one that spent A LOT of time in this room and wanted to make sure it was something I would like as well as my girl.

Here are some questions to think about as a parent when deciding to come up with you color choice......
* Will I feel relaxed in this room?
* What can I afford?
* What colors would make me stressed out with a screaming baby?
* Would my baby enjoy the colors over time?
* (if a small house) What will help the room look bigger and more open?

When I came up with my nursery, it fit so perfect and whenever I rock my baby to sleep I get a calm and relaxing feeling.  I think that is so important when dealing with screaming or temper tantrums when it's time for naps, bed, or changing yet another diaper.


One of the most important things when painting is to make sure you love it.  I love this room and I guarantee there are many people who hate it, but guess what? I don't care! I'm the one that spends all day and night in it and it makes my baby and me happy.

Another thing I know you're thinking is "There is no way I can do those stripes!" I was nervous at first, but then I sucked it up and if you look close they are not perfect, but once you tie everything in, you don't notice. Here is how I made the stripes. Deep breath.  I know you can do it!


The most important thing is to make sure that they are straight so get out your long yard stick and your leveler, they will do all the magic for you.


The first thing you need to decide is how thick you want your stripes or how thin. You can look at mine if you want but I seriously just winged it and made it up as I went.  I really tried to make it look as random as possible and no patterns.
I started at the top and if I decided that I wanted my stripe 3 inches wide I then had to decide how much white I wanted between the two stripes and add that on top of the three inches. Also make sure to take the width of the tape into account, it will make the white thicker. Next I put out my level and my ruler together horizontally and measured the appropriate distance from the last tape (or the wall for the first stripe). I did this at the top the middle, and the bottom. *It is very important to always look at your leveler that will save your life and stripes! I would also do a cross check with my leveler vertically to make sure that my three marks were adding up straight.


Good luck, and happy painting!!


Saturday, March 29, 2014

Yummy family favorite

I love an easy dinner recipe.  Tostados are fast and my kids love them.  

Tostados
1 lb Hamburger
2 cans pork and beans
1 8 oz can tomato sauce
1 pkg taco seasoning

Cook hamburger.  Add other ingredients and let simmer about 15 minutes.
Pour over small Fritos.  Add cheese, lettuce, tomatoes, onions, salsa, and sour cream on top.  My kids also like ranch dressing.  My husbands family calls this mock tamale pie so I am sure there are other names out there for this meal.  WW points: 5 points for Hamburger mixture.  Add any points for toppings.  


Thursday, March 27, 2014

Skirt Extender for growing girls

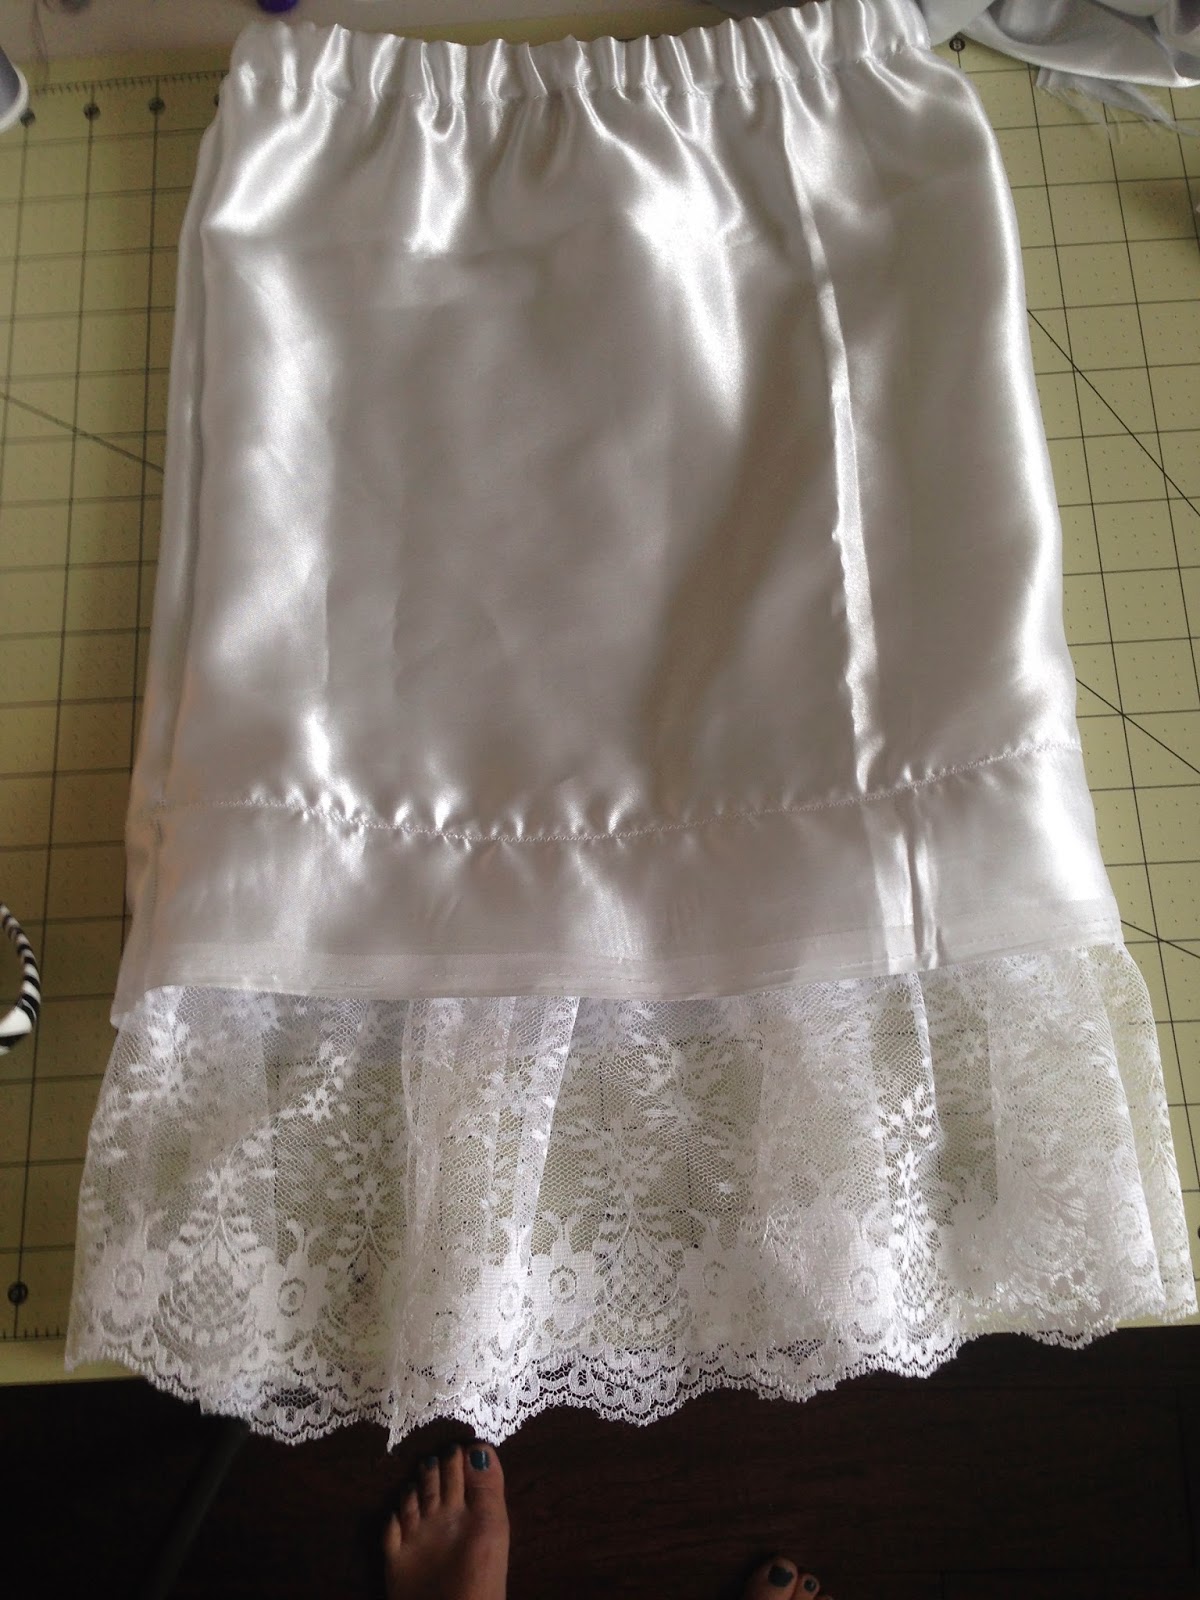
I have a little 7 yr old who is tall and skinny. So it seems every few months I am either buying her new dresses or new pants. Its so hard and frustrating. So what do you do? I know that I am not the only one out there that is in this same situation. So, they have these things that have become very popular out here called skirt extenders with is basically a slip with lace that looks like it is part of your dress or skirt. I have not been able to find them for my daughter. So, I took it upon myself to make one for her. And since I made one for her. My 5 yr old wanted one as well. And why not make some of those cute dresses my girls have last just a little bit longer. By the way, YOU can make them for yourself as well. Its the same way just adjust the sizing.
1. I used a serger and did both sides. ( but you can use your regular sewing machine)
2. Fold one of your edges over and sew making sure to leave it big enough to be able to put your elastic waist band through as well as not sewing it all shut to that you CAN put your elastic in.
3. now to slide your elastic through. Easiest way is to take a safety pin in and put it through the hole you left unsewn. When you get it to the end sew the two ends together and close up your hole. 
4. Add first layer of lace to the inside. That means to the wrong side.  No one will see the  edge on the other side anyways because it will be covered by your second layer.
this is what will be hidden

5. Sew second layer on the front of the skirt covering the showing edge.  And that is it!
Before... (Not so bad. I told her just to go get a dress that had white in it)

Cute huh! She loved It. Makes it a little bit longer to.

Monday, March 24, 2014

Olaf Treats

In case you didnt know, Frozen came out on video last week.  Ever since I took ML on a Mama - daughter date to see it in January we have been obsessed at our house (I say "we" lightly).  We decided to have a Frozen party at Granny's house to make Olaf snacks and watch the movie.  We had so much fun and loved every minute of it.  The Olaf treats turned out so cute so I wanted to share with you how to make them.


 They are so easy to put together.  We used powdered donuts for the base and large marshmallows for the other two layers of the snowman.  Mini chocolate chips were the buttons on the body, pretzel rods were the arms, mini marshmallows for feet and orange tic tacs for the nose. 
For the eyes you can use the mini chocolate chips or get sugar eyes in the baking section of the grocery store.  For the mouth we used Twizzlers ropes in the mixed berry which has red, pink and blue (we used blue since hes a snowman and probably has cold lips!).  You can also get the Twizzler ropes in black and stick those out of the top marshmallow for his hair but ML decided she didnt want hair on her Olaf.

 We literally licked all of the pieces to make them stick and it worked perfectly.  ML was so proud and every time Olaf came on the screen she would say she made Olaf and go in the kitchen and look at him.  All of the other kids ate theirs pretty quickly but ML kept hers to show Daddy when he got off work.  Such a fun project to do with all the cousins!

Thursday, March 20, 2014

Bullying.....STOP IT!

This was not my intended post today. I had a great tutorial that I will save for another day. I was supposed to post yesterday, but some things came up and I was unable to.  This subject has been weighing heavy on my heart. Bullying. Everyone knows it is out there.  Everyone at one time or another has been a part whether they have been an active participate,  silent, or just standing back and watching. 

 I will not go into details but my son and his best friend have been having arguments. I love teenagers and male testosterone! Especially at 14!! It has escalated from calling each other names to the macho "well what can you do to me!"  "Oh yeah show me!" 

 I finally took the Ipod, texted this boy, and told him "this is the mom I know what is going on. They are friends they need to stop and that is that leave it alone". I'm sure having mommy come to the rescue did not help, but what else am I to do.  My son says he has a right to defend himself.  I told him your right, but at what cost? How bad would you feel if you seriously hurt your best friend or vise versa?  What does it prove? You can be the stronger person with more strength if you go up, shake his hand, tell him your sorry for the misunderstanding.  Ask for forgiveness even if you did nothing wrong, and hope that you guys can work things out. That shows more strength than a punch to the face or the gut, or these big bad words being passed back and forth.  I also want to add, my son was not innocent in any of this.  He was just as much involved sending back texts and so on.  I do want to make it clear that he was doing his part in this as well.


 I am a member of The Church of Jesus Christ of Latter Day Saints (Mormons)  The church recently put out a short video on bullying. It is not in any way a religious video or promoting the church, but it really hits home. Take a few minutes to look at it because you never know where bullying is, or starts.  To those that are being bullied, from the bottom of my heart I am so sorry. I saw my son in pain last night. I hurt for him. I cried with him. Please talk to someone!  Find strength in parents, friends, loved ones, peers. To those who are doing the bullying. STOP! Turn the tables around, put yourself in their shoes!  Make today the day to be the better person you are!


http://www.youtube.com/watch?v=FYVvE4tr2BI&feature=share