

Believe it or not but after using all my coupons I got all this fabric and elastic for $12.00!

So the first step I did was measure my head and my baby's head, (the top part of the fabric wrap) I only measured it to my ears. (mine was 20 inches, and my baby was 15) The next step is how thick you want to do it, it's kind of a personal preference, i think if it's too wide on me it look a little funny so I measured mine 3 1/2 inches wide, I folded it over and sewed it so it wouldn't fray.
 Step 2: I then just took the ends and scrunched them together (this is what makes the wrap so cute) and then I just sewed across to make it flat. My daughters I actually did out of ribbon.
Step 3: Is the casing, this is a little tricky at first but my mom came to the rescue and taught me a few tricks to make it so easy. I measured the remaining amount of length I needed with the elastic (mine was 4 inches and my baby's was 5 inches) then I doubled that amount and subtracted one. ( so 7 & 9 ) I then took the width of the elastic and folded it over so that it fit in comfortable. Then I pinned that and sewed it inside out.


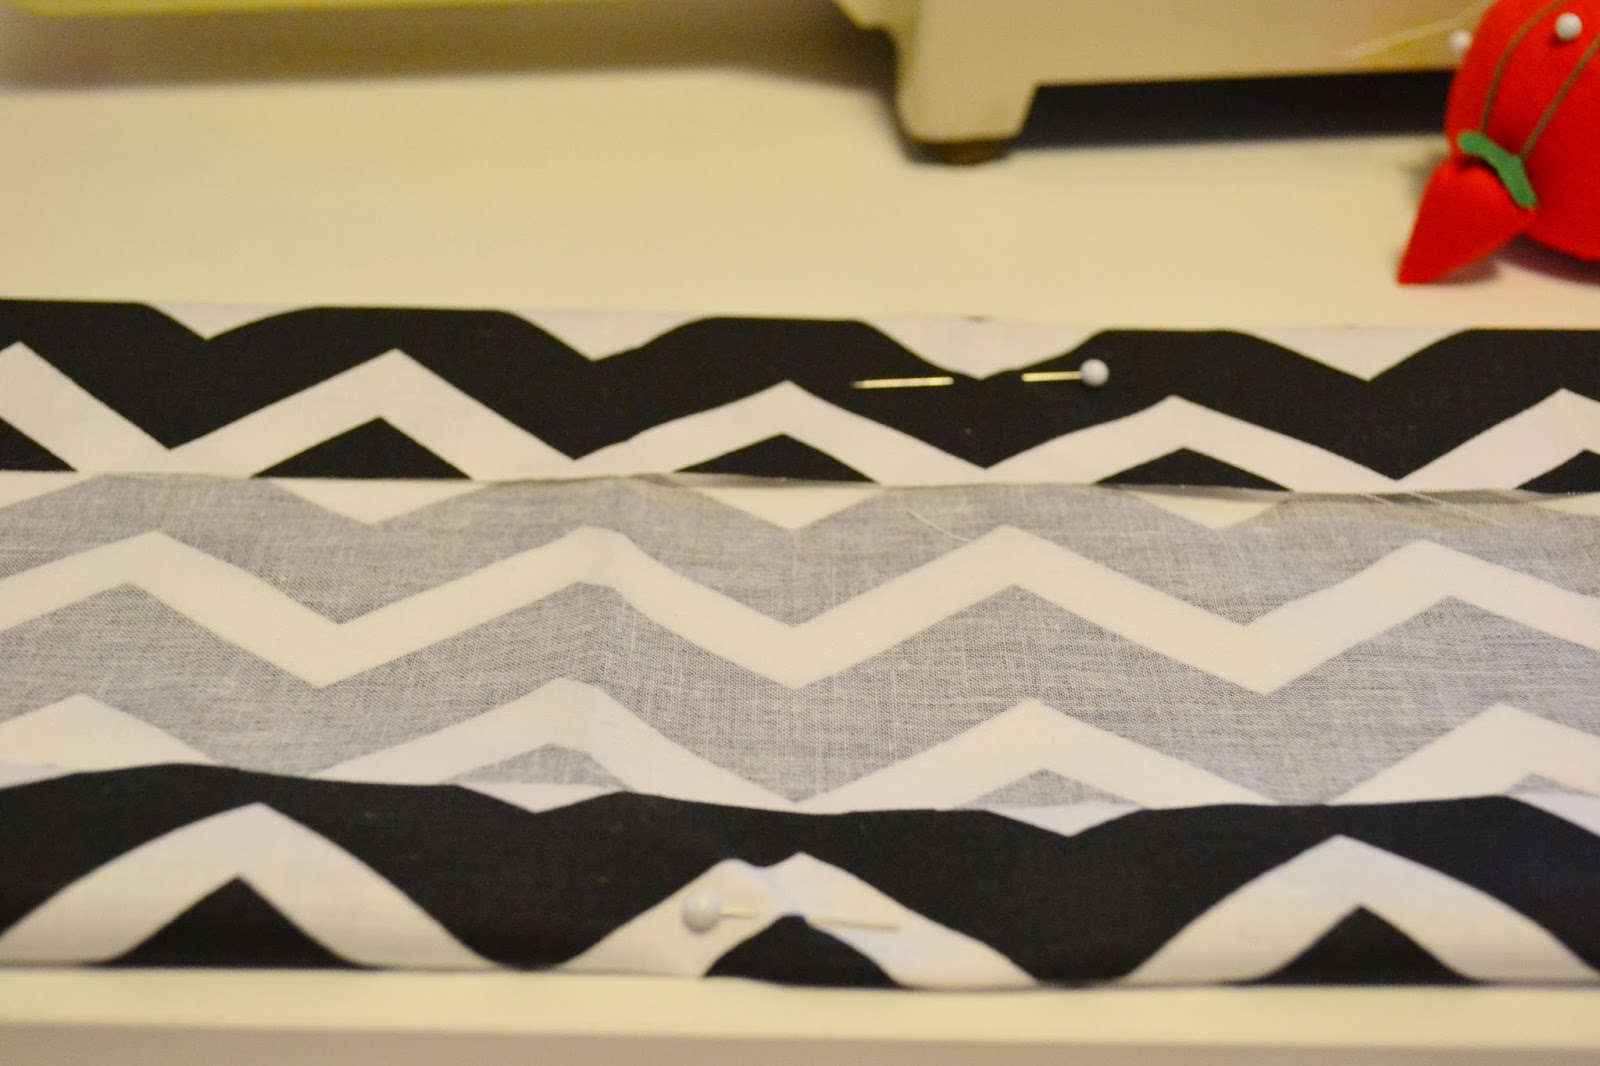
Step 5: I took a safety pin and pinned it on the end then turned the casing inside out. Then put the safety pin on the elastic and put it through.

 Make sure that you pin the end of the elastic so it doesn't go all the way in.
Then BAM you have a little caterpillar!

 Make sure you sew each of the ends so it will stay
What step was I on? I lost count... Next step:

This step is a little tricky, you need to pin it so that it's kinda back wards so that way it will hide your stitch. so to explain you lay it over the top of the head band and sew the ends together. Then that way it will look like this!


I went trough and trimmed the ends a little so they wouldn't stick out a ton, but what did I tell you so easy!
I hope I didn't loose anyone or confuse you, I would love to help you out if you have any questions.


No comments:
Post a Comment